
Nieuwegein Fashion · Growth edition
How to Check White Pants for Opacity Before You Buy
White pants can look reassuringly solid on a hanger and reveal far more when worn. The fabric may become more transparent across the seat, show the edge…
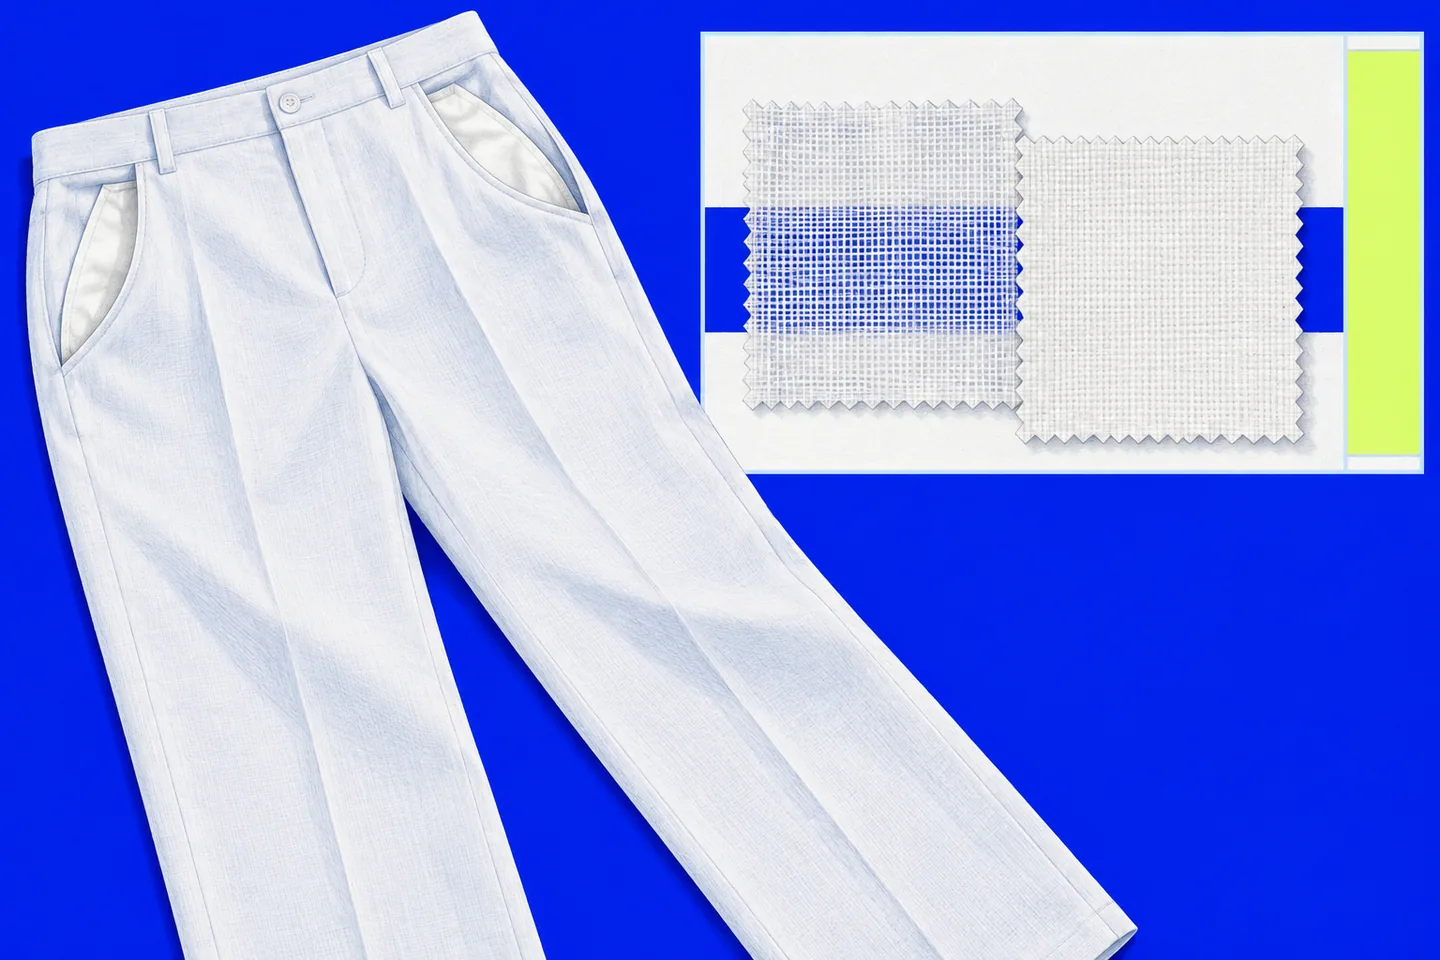
White pants can look reassuringly solid on a hanger and reveal far more when worn. The fabric may become more transparent across the seat, show the edge of a pocket bag or expose an underwear seam in daylight. A useful white pants see through test checks the garment under the conditions in which you will wear it: against your body, in good light and in motion.
Decide what level of coverage you want. A visible pocket outline may be acceptable; underwear colour or seams showing through the seat may not be.
Start with the fabric, but do not stop there
Before trying the pants on, place a hand inside one leg and look at the cloth under ordinary shop lighting. Then hold a single layer toward a bright window or lamp without pressing it against the light. These quick checks help you compare two pairs, but neither reproduces the effect of fabric stretched over the hips. Treat them as a first screen, not a verdict.
Look closely at how the threads sit together. A compact weave or knit may give more coverage than an open one, although thickness alone does not settle the question. In textile research on fabric light transmission, yarn structure and thread density affected how much light passed through the material. That work examined fabrics rather than worn trousers, so the practical lesson is to inspect the construction of the actual cloth, then confirm the result on your body.
Check the front, back and upper thighs separately. Pocket bags can form pale rectangles beneath translucent cloth; seam allowances and a fly facing create other changes in thickness.
Test the pants in daylight and in motion
Put the pants on with the underwear you would realistically wear beneath them. Face a window or another source of diffuse daylight, then turn so the light falls across the back. If a changing-room mirror gives only a front view, use a second mirror where available or ask someone you trust to check. Avoid treating a dim fitting room as the final test.
Stand naturally. Look for colour showing through the seat and thighs, underwear edges and the outline of pocket bags. Walk a few steps: fabric that hangs away from the body while standing may settle against it as you move.
Next, sit on a chair and lean forward slightly. Check the seat and upper thigh again. Sitting changes where the cloth is under tension and can expose a problem that was invisible while standing. Stand up, make a shallow bend and take another few steps. If the pants need constant tugging to keep the fabric loose enough for coverage, that is useful buying information.
Keep the lighting consistent when comparing pairs. Do not judge solely by holding fabric directly against a window: backlighting can exaggerate transparency compared with normal wear.
Separate transparency from a tight fit
Opacity asks whether you can see what is beneath the cloth. Fit asks whether the waistband, rise, seat and leg give you enough room to move. The two affect one another, but they call for different decisions. If the fabric looks sufficiently covered when it hangs freely and becomes revealing only where it pulls across the hips, try the next size or a cut with more room through the seat.
If the waistband then gaps or the leg loses the shape you want, sizing up has not solved the purchase. Look for another cut. If the cloth remains see-through even where it hangs loose, a different size is unlikely to supply the missing coverage. Compare another fabric or a lined version instead.
Horizontal pulling beneath the fastening, flared pocket openings or a back seam that strains when you sit suggest a fit problem. Underwear colour visible through a relaxed leg points more strongly to the fabric.
Compare lining, density and underwear contrast
A lining can add coverage, but inspect where it ends. A short lining may conceal the seat while leaving a visible horizontal edge across the thigh. Check whether the layers move together when you walk and whether the lining bunches when you sit. Lining also changes the feel of the garment, so wear the pair long enough to notice whether it catches or twists.
For unlined pants, examine the seat and legs for an even appearance. Gently stretch a small area to see whether the fabric opens up, without pulling hard or damaging it. A dense waistband does not prove the legs have the same coverage.
Underwear creates another kind of contrast. Bright white, dark colours, prominent seams and textured lace may all be easier to see beneath pale fabric. Smooth underwear close to your skin tone is a useful comparison item if you own it, but it should not be required to rescue a pair you otherwise find too transparent. Test with what you are willing to wear regularly, then decide whether the result meets your standard.
Separate colour from outline. Different underwear may reduce a visible patch while its raised seam still shows. A lining may hide colour but leave a pocket edge visible.
Read the labels for the questions they can answer
The fibre label identifies what the garment is made from; it does not grade opacity. In the United States, the Federal Trade Commission says most textile products must carry a label listing fibre content, along with other identifying information. Use that label to understand the material and compare garments, then use the try-on to judge coverage.
Linen comes from flax, as the CottonWorks textile encyclopedia explains, but its name cannot tell you whether a particular pair is densely woven, lined or opaque when seated. Examine the finished pants.
Read the care label before deciding, too. Pale trousers may need frequent cleaning, and an otherwise suitable pair is less useful if its care routine does not work for you. The FTC’s care-label guidance explains that garment instructions cover regular cleaning and relevant warnings. Check the instructions attached to the particular pants, including any limits on washing, drying, pressing or bleaching. Do not assume that white cloth can be bleached or cleaned like another white garment you own.
A five-minute try-on protocol
- Minute one: inspect the garment. Read the fibre and care labels. Check for lining, pocket bags and obvious changes in fabric thickness. Hold one layer toward a light for a quick comparison, without deciding from that view alone.
- Minute two: check standing coverage. Put the pants on with your usual underwear. In good light, look at the front, side and back. Note visible colour, seams, pockets and lining edges.
- Minute three: move. Walk several steps and turn. Check whether the fabric brushes against the legs, pocket bags become clearer or underwear edges appear as the cloth moves.
- Minute four: sit and bend. Sit normally, lean forward and stand again. Recheck the seat and upper thighs where the fabric may tighten.
- Minute five: make two decisions. First, is the coverage acceptable in every position you tested? Second, does the fit remain comfortable and balanced? If only one answer is yes, compare another size, cut or fabric.
For an online purchase, use the product description to shortlist likely candidates, then check the seller’s current return terms before ordering. Keep tags attached and follow the stated try-on conditions while you repeat the same test at home in daylight. Product photographs can show a silhouette, but they cannot tell you how a specific pair will look over your underwear when you sit.